
Tips for Working With Beads
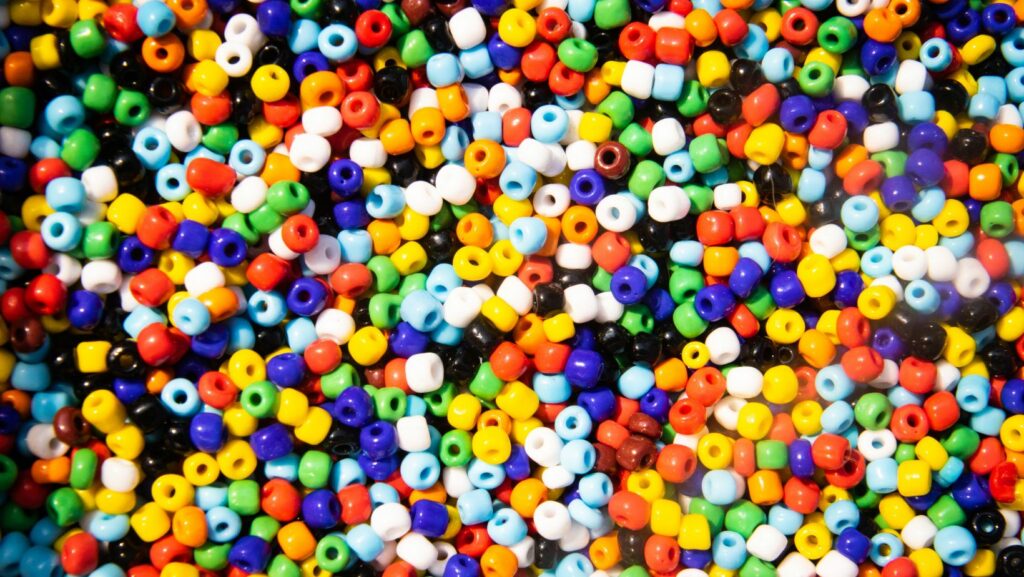
Beads come in all sorts of shapes, sizes and colors. They can be made from a variety of materials including glass, metal, wood and plastic. You can buy them loose or strung together on a wire or thread. Beads can be used to make all sorts of jewelry including bracelets, necklaces, earrings and even rings.
Working with beads can be great fun but it’s important to know a few basic techniques before you get started. In this guide, we’ll show you how to choose the right beads for your project, how to string them together and how to finish off your jewelry so that it looks professional.
How to Make Wire Jewelry With Beads
Things that you’ll need to make beaded jewelry:
-Wire (of course)
-Beads!
-Wire cutters
-Round nose pliers
-Chain nose pliers
-A piece of scrap paper (optional)
Preparing the Beads
Whether you’re working with seed beads, bugle beads, or any other type of beads, it’s important to prepare them before beginning your project. Depending on the size and shape of the beads, you may need to thread them onto a beading needle or wire before stringing them. You can also sort the beads by color or type to make it easier to find the ones you need as you’re working.

Before you start beading, it’s also a good idea to decide on the overall design of your piece and plan out the placement of the beads. You can sketch a rough outline of your design or string the beads onto wire or thread to get an idea of how they’ll look before committing to a final design.
Stringing the Beads
1. Decide on the order in which you want your beads to appear. You can string them in a pattern or randomly.
2. Arrange the beads in the order in which you want them to appear on the wire.
3. Cut a length of beading wire, allowing for about 2 inches extra for making the clasp and for finishing the ends of the wire.
4. Thread the wire through the first bead, leaving a small tail of wire before the bead. This will help to keep the bead from sliding off the end of the wire.
5. Continue threading beads onto the wire, until you have reached your desired length. Again, leave a small tail of wire before the last bead to keep it from sliding off.
6. To finish off the ends of the wire, use a pair of round-nose pliers to make a small loop at each end of the wire (this is called making a “wrapped loop”). Trim any excess wire, and then use your pliers to gently squeeze the loop closed so that it’s nice and tight against the bead.
Adding the Clasp
Depending on the design of your jewelry piece, you may need to add a clasp. Here are a few tips to help you with this process:
-Use a pair of needle-nose pliers to open and close the jump rings that will attach the clasp to the jewelry piece.
-To attach the clasp, first open a jump ring and thread it through the loop on one end of the clasp. Then, thread it through the loop on one end of the beaded wire. Close the jump ring.
-Open another jump ring and thread it through the other loop on the clasp and then through the other loop on the beaded wire. Close this jump ring as well.
-Test the jewelry piece to make sure that the clasp is secure and that the jewelry piece can be worn comfortably.
Finishing Touches
Once your wire jewelry piece is complete, it’s time to add the finishing touches. This is where you can really let your creative juices flow! Here are a few ideas to get you started:
-Add a bail: This is a small metal finding that attaches to the top of your pendant, making it easier to thread a chain or cord through.
-Add a charm: A dangle or charm can add an extra bit of personality to your piece. Be sure to check that the finding will fit through your bead holes before attaching.
-Add a jump ring: Similar to a bail, jump rings are small metal loops that attach to the top of your pendant. They’re great for attaching charms or dangles, and they make it easy to change out your chain or cord.
-String your piece on a chain or cord: This is an easy way to turn any wire jewelry piece into a necklace or bracelet. Just be sure to use a jewelry-grade chain or cord so it doesn’t damage your beads.
-Wear it as is: Don’t forget that some of the simplest wire jewelry pieces can be stunning all on their own! If you don’t want to add anything else, just give your piece a light buffing with a soft cloth and you’re good to go.
Conclusion
We hope you enjoyed our tips for working with beads! If you have any questions or comments, please feel free to contact us. We love hearing from our readers!